
Singer 99K Sewing Machine: A Comprehensive Guide
Discover detailed Singer 99K manuals readily available online‚ including resources from Ismacs.net‚ alongside reproduction options for comprehensive guidance and machine operation.
Historical Overview of the Singer 99K
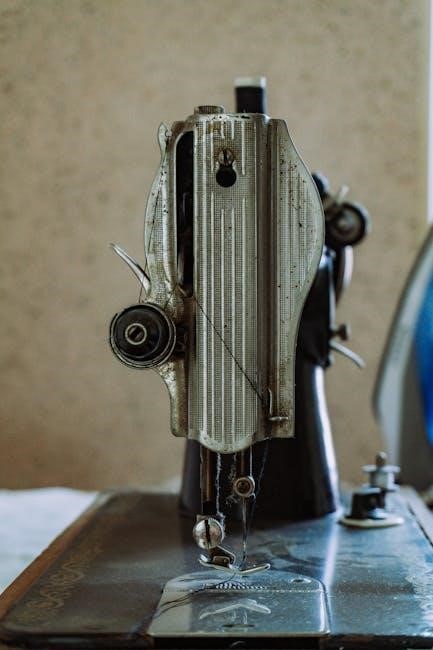
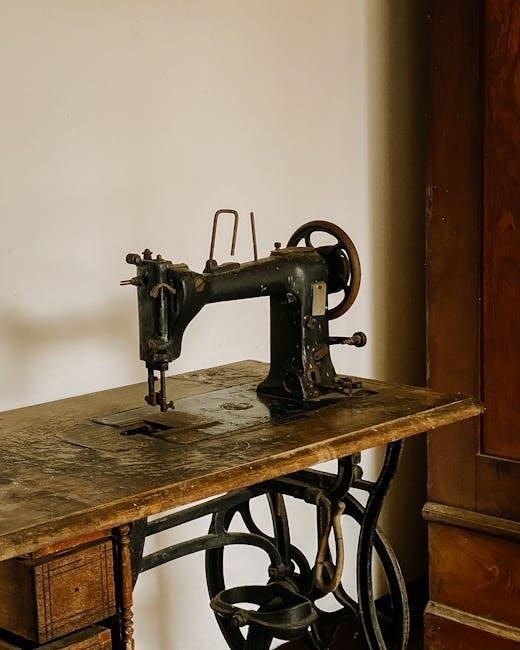
The Singer 99K‚ introduced in 1911‚ quickly became a beloved machine for its portability and robust construction. Initially designed for domestic use‚ it gained popularity for handling various fabrics. Numerous variants emerged over its production run‚ spanning several decades.

Early models differed slightly from later iterations‚ with changes in tension mechanisms and stitch length adjustments. The “K” designation‚ often seen in Singer 99K models‚ signifies production in Scotland‚ though functionally identical to US-made versions.
Original manuals‚ like those archived on Ismacs.net‚ provide invaluable insight into the machine’s operation and maintenance. Reproduction manuals are available‚ offering a convenient way to access instructions for this classic sewing machine. Its enduring appeal stems from its reliability and the wealth of available resources.
Identifying Different 99K Variants (Including “K” Designation)
Singer 99K machines exhibit variations throughout their production history. Early models showcase distinct features compared to later versions‚ particularly in tension and stitch length controls. The 99-31‚ a later iteration‚ features a numbered tension and stitch length lever‚ detailed in reproduction manuals.
The “K” designation is crucial; it indicates the machine was manufactured in Singer’s Scottish factory. However‚ functionally‚ these “K” models are virtually identical to their American counterparts. Identifying these nuances requires careful examination of the machine’s serial number and features.
Manuals‚ such as those found on Ismacs.net‚ often detail these subtle differences. Understanding these variations aids in sourcing correct parts and utilizing appropriate maintenance procedures‚ ensuring optimal performance of your Singer 99K.
Accessing Singer 99K Manuals and Resources
Locating a Singer 99K manual is essential for proper operation and maintenance. Ismacs.net serves as a premier online repository‚ offering downloadable manuals for various 99 and 99K versions‚ including the 99-13. These digital resources provide invaluable insights into the machine’s mechanics and troubleshooting.
Reproduction manuals are also readily available‚ particularly for later models like the 99K/99-31 from 1957. While reproductions offer convenience‚ verifying their accuracy against original documentation is advisable. The Manual Library also hosts original instruction manuals‚ such as Form K1810 Rev 1049.
Utilizing these resources empowers owners to confidently maintain and repair their vintage Singer 99K‚ preserving its functionality for years to come.
Online Manual Availability (Ismacs.net)
Ismacs.net stands as a cornerstone resource for Singer 99K owners seeking digital manuals. The website hosts a comprehensive collection of original Singer documentation‚ freely accessible for download. Users can find specific manuals tailored to different 99K variants‚ ensuring compatibility with their machine’s features.
Direct links on Ismacs.net lead to PDF versions of manuals‚ including those for the standard Singer 99 and the 99-13 portable electric model. These manuals cover everything from basic operation and threading to detailed maintenance procedures and troubleshooting guides.
Downloading from Ismacs.net provides a convenient and cost-effective way to access essential information for preserving and operating your vintage Singer 99K sewing machine.
Reproduction Manuals: What to Expect
Reproduction manuals for the Singer 99K offer a viable alternative when original copies are unavailable or cost-prohibitive. These are newly printed versions based on scans of original documents‚ providing access to vital information. However‚ it’s crucial to understand their characteristics.
Quality can vary between reproduction sources; some may exhibit slight imperfections due to the scanning and printing process. Expect potentially lower resolution images or minor text inconsistencies compared to pristine originals.
Specifically‚ a 1957 reproduction manual for the 99K/99-31 model focuses on later versions with numbered tension and stitch length levers. While helpful‚ they may not perfectly align with all 99K variations. Always verify the manual’s scope before purchase.
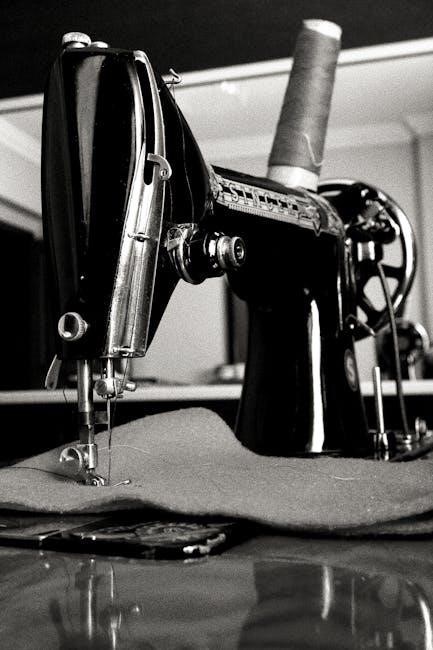
Setting Up Your Singer 99K
Proper setup is crucial for optimal Singer 99K performance. Begin with a thorough cleaning to remove accumulated dust and old oil‚ ensuring smooth operation. Refer to your manual – original or reproduction – for detailed diagrams and instructions.
Oiling key components‚ as illustrated in the manual‚ minimizes friction and prevents wear. Pay attention to the bobbin area‚ tension assembly‚ and moving parts. Before initial use‚ and regularly thereafter‚ carefully wind a bobbin‚ remembering to release the clutch knob.
This prevents unnecessary wear on the needle and allows for faster winding. A well-maintained and properly set-up machine‚ guided by the manual‚ will deliver years of reliable service.
Initial Cleaning and Oiling Procedures
Before first use‚ or after prolonged storage‚ a thorough cleaning is essential. Consult your Singer 99K manual for specific disassembly instructions‚ if needed. Use a soft brush to remove lint and dust from all accessible areas‚ including the bobbin case and feed dogs.
Next‚ apply sewing machine oil sparingly to key moving parts‚ as detailed in the manual. Focus on the bobbin winder‚ tension assembly‚ and any points indicated in the diagrams. Avoid over-oiling‚ as this can attract more dust.
The manual will illustrate precise oiling points. A clean and lubricated machine‚ following the manual’s guidance‚ ensures smooth‚ quiet operation and extends the lifespan of your Singer 99K.
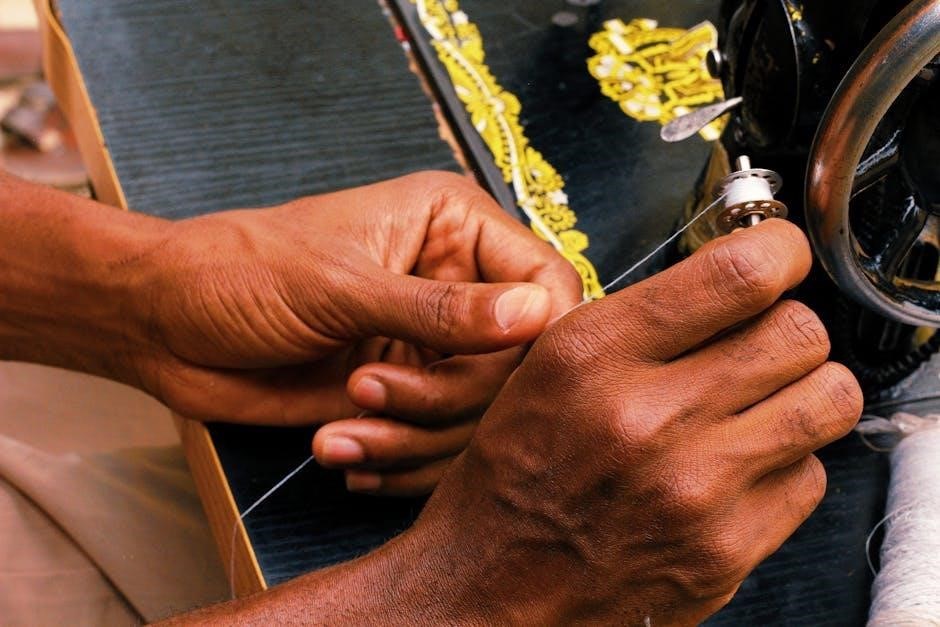
Proper Bobbin Winding Technique (Clutch Release)
The Singer 99K manual details the bobbin winding process‚ emphasizing the clutch release. Engaging the clutch knob disengages the needle mechanism during winding‚ preventing unnecessary wear and tear. This allows for faster bobbin filling without impacting the sewing functionality.
Refer to your manual’s diagrams to correctly position the thread spool and guide it through the tension disc. Ensure the thread winds evenly onto the bobbin. Releasing the clutch during winding‚ as shown in the manual‚ is crucial for smooth operation.
Following the manual’s instructions precisely will result in consistently well-wound bobbins‚ contributing to even stitch formation and preventing tension issues during sewing with your Singer 99K.
Threading the Singer 99K
The Singer 99K manual provides a detailed threading diagram‚ essential for proper machine function. Begin by raising the presser foot‚ which opens the tension disks. Guide the thread from the spool‚ through the first thread guide‚ and then down to the tension assembly.
Ensure the thread is securely seated between the tension disks‚ as illustrated in the manual. Continue threading through the take-up lever‚ then down to the needle bar. Finally‚ thread the needle from front to back.
Consult your manual for specific instructions regarding the thread path‚ as slight variations may exist between 99K models. Correct threading‚ as shown in the manual‚ is vital for achieving balanced stitches and preventing issues like looping or knotting.
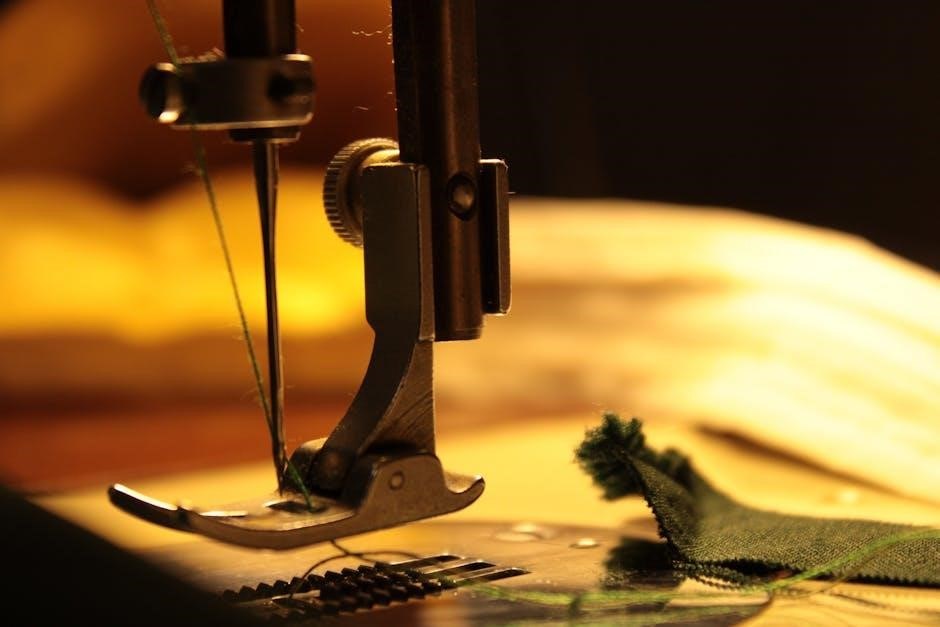
Needle Selection and Installation
The Singer 99K manual details appropriate needle types and sizes for various fabrics. Generally‚ a size 14 (metric 90) needle is suitable for medium-weight fabrics. Always use needles designed for sewing machines‚ ensuring a consistent diameter and eye shape;
To install‚ raise the needle to its highest position. Loosen the needle clamp screw‚ then insert the flat side of the needle towards the back. Tighten the screw firmly‚ but avoid over-tightening.
Refer to your manual for specific guidance on needle compatibility and installation. A correctly installed needle‚ as demonstrated in the manual‚ is crucial for preventing skipped stitches and ensuring smooth fabric feed.
Understanding Tension Settings
The Singer 99K manual emphasizes the importance of balanced tension for optimal stitch quality. Upper and lower tensions work together; imbalances cause looping or puckering. Begin with the factory settings detailed in the manual‚ typically ‘4’ on the numbered tension dial of later 99K models.
Adjusting the upper tension affects how tightly the needle thread pulls the bobbin thread. Loosening allows easier pull‚ tightening increases it. The manual illustrates how to access the upper tension assembly and potentially replace the spring if needed.
Fine-tuning involves test sewing and observing the stitch formation. The manual guides you through adjusting the tension disks for a balanced stitch.
Upper Tension Assembly and Spring Replacement
The Singer 99K manual details accessing the upper tension assembly‚ crucial for addressing tension issues. Begin by loosening the tension nut before attempting disassembly‚ as outlined in the manual. Carefully remove the tension disks and examine the spring for wear or fatigue.
A weakened or damaged spring significantly impacts tension control‚ often causing looping or knotting on the underside of the fabric; The manual may provide diagrams illustrating the correct spring placement and orientation during reassembly.
Replacement springs are available from various suppliers. Ensure the new spring matches the original specifications. The manual stresses proper reassembly and tension nut tightening for optimal performance.
Adjusting Tension Disks for Optimal Stitching
The Singer 99K manual emphasizes the importance of clean tension disks for consistent stitching. Accumulated lint and debris disrupt thread flow‚ leading to tension imbalances. Carefully disassemble the upper tension assembly‚ following the manual’s instructions‚ and thoroughly clean the disks with a soft brush or lint-free cloth.
Proper disk alignment is critical. The manual illustrates the correct positioning‚ ensuring smooth thread passage. After cleaning‚ test the tension with scrap fabric‚ adjusting the tension nut incrementally.
Observe the stitch formation; balanced tension creates even stitches on both sides. The manual guides you through identifying and correcting looping or puckering‚ indicating tension adjustments are needed. Fine-tuning ensures optimal stitch quality.
Common Problems and Troubleshooting
The Singer 99K manual often points to tension as a primary culprit for sewing issues. Looping or knotting on the fabric’s underside frequently indicates insufficient upper tension. Consult the manual for detailed tension adjustment procedures‚ starting with cleaning the tension disks.

If problems persist‚ a worn upper tension spring‚ as highlighted in user experiences‚ may be the cause. The manual doesn’t explicitly detail spring replacement‚ but resources suggest it significantly improves performance.

Always ensure a correctly installed and sharp needle‚ as recommended in online forums. Refer to the manual for needle selection guidance based on fabric type. Addressing these common issues‚ guided by the manual‚ restores smooth operation.
Looping or Knotting on the Bottom of Fabric
The Singer 99K manual frequently addresses looping or knotting beneath the fabric as a common issue. This typically signals an imbalance in thread tension‚ specifically insufficient upper tension. The manual guides users through adjusting the upper tension assembly‚ emphasizing incremental changes.
Experienced users suggest‚ and the manual implicitly supports‚ that a worn beehive spring within the upper tension assembly is a frequent cause. Replacing this spring often resolves the problem. Cleaning the tension disks‚ detailed in the manual‚ is a crucial preparatory step.
Ensure proper threading‚ as illustrated in the manual‚ and a correctly wound bobbin. A new‚ sharp needle‚ selected according to the manual’s recommendations‚ can also prevent these issues.
Addressing Tension Issues
The Singer 99K manual provides a systematic approach to resolving tension problems. Begin by verifying correct threading‚ meticulously following the diagrams within the manual. Next‚ assess the bobbin tension; while often not the primary culprit when loops form underneath‚ it must be correct.
Crucially‚ the manual details adjusting the upper tension. Incremental adjustments are key – small turns of the tension screw can significantly impact stitch quality. A worn upper tension spring‚ frequently mentioned in online discussions referencing the manual‚ should be inspected and replaced if necessary.
Cleaning the tension disks‚ as outlined in the manual‚ removes lint and debris that can disrupt smooth thread flow. Re-test after each adjustment‚ referencing the manual’s sample stitches for comparison.
Basic Maintenance
The Singer 99K manual emphasizes regular maintenance for optimal performance. Before extended use‚ a thorough cleaning and oiling are paramount‚ as detailed within the manual’s instructions. Focus on key areas like the bobbin case‚ shuttle hook‚ and all moving parts. Use a sewing machine oil specifically‚ avoiding heavier oils that can gum up the mechanism.
The manual also highlights the importance of lint removal. Accumulated lint can impede smooth operation and affect stitch quality. A small brush is ideal for this task. Regularly check and tighten any loose screws‚ referencing the manual’s diagrams for location.
Consistent maintenance‚ guided by the manual‚ extends the life of your Singer 99K and ensures consistently beautiful stitches.
Stitch Length Adjustment
The Singer 99K manual details how to adjust stitch length using a dedicated lever‚ particularly on later 99-31 models. This lever allows you to select from a range of stitch lengths‚ influencing the appearance and strength of your seams. The manual illustrates the numbered settings‚ correlating each number to a specific stitch length.
Experimentation is key to finding the ideal stitch length for your fabric and project. Shorter stitches are suitable for delicate fabrics and intricate work‚ while longer stitches are better for heavier materials and quicker sewing. Refer to the manual for guidance on appropriate settings.
Proper stitch length adjustment‚ as outlined in the manual‚ ensures professional-looking results and prevents puckering or loose seams.
Advanced Techniques
While the Singer 99K manual primarily focuses on fundamental operation‚ experienced users can explore advanced techniques. Mastering precise tension control‚ informed by the manual’s guidance‚ unlocks capabilities for sewing various fabrics‚ including silk and denim. The manual doesn’t explicitly detail complex alterations‚ but understanding the machine’s mechanics allows for customized adjustments.
Experienced sewists can utilize decorative stitches‚ achievable through careful tension and feed dog adjustments. The manual provides a foundation for understanding these principles. Furthermore‚ the 99K’s robust construction lends itself to free-motion quilting‚ though this requires practice and potentially aftermarket accessories.
Ultimately‚ the manual serves as a starting point for unlocking the full potential of this versatile machine.
Singer 99K Accessories
The Singer 99K manual details standard accessories included with the machine – bobbins‚ needles‚ screwdrivers‚ and oilers. However‚ a thriving aftermarket exists for expanding functionality. While the manual doesn’t list these‚ numerous presser feet are available‚ enabling specialized tasks like zipper insertion‚ buttonholes‚ and decorative stitching.
Original accessories‚ like specialized hemmers or edge stitchers‚ can be found through vintage sewing machine communities and online marketplaces. The manual provides a baseline understanding of how these attachments interact with the machine’s mechanics. Modern bobbin cases and needles‚ compatible with the 99K‚ enhance performance.
Exploring these additions‚ alongside the manual’s core instructions‚ unlocks the machine’s full creative potential.
Dating Your Singer 99K
Determining your Singer 99K’s production date requires careful observation‚ as the manual itself doesn’t explicitly state manufacturing years. Serial numbers are key‚ though deciphering them can be complex. Early models predate widespread serial number standardization. Resources like Ismacs.net offer databases and guides to help correlate serial numbers with approximate production periods.
The “K” designation‚ as noted in some manuals and online forums‚ indicates production in Scotland‚ but doesn’t pinpoint a specific year. Examining the tension dial – earlier versions have lettered settings‚ later ones are numbered – provides another clue. Manual variations also reflect production changes.
Combining serial number research with feature analysis offers the most accurate dating.
Restoration Projects
Embarking on a Singer 99K restoration is rewarding‚ often beginning with a thorough cleaning and oiling – steps detailed in the manual. Many machines‚ like the “barn find” 15-91 mentioned online‚ benefit from replacing the upper tension spring‚ a common issue causing looping or knotting. Referencing the manual aids disassembly and reassembly.
Reproduction manuals are invaluable if the original is missing‚ providing diagrams and instructions. Parts sourcing can be challenging‚ but online communities offer guidance. Cosmetic restoration – repainting or refinishing – requires careful preparation. Always prioritize mechanical functionality before aesthetics.
Consulting the manual throughout the process ensures correct operation and preserves the machine’s historical integrity.
Finding Replacement Parts
Sourcing replacement parts for a Singer 99K can require patience‚ but is achievable. Online auction sites and specialized vintage sewing machine retailers are excellent starting points. The manual is crucial for identifying correct part numbers‚ though sometimes cross-referencing is necessary.
Commonly needed parts‚ like tension springs (as highlighted in user experiences)‚ are often available. However‚ unique or specific components might be harder to find. Online communities dedicated to vintage Singers are invaluable resources for locating parts or finding advice on suitable substitutes.
Remember to consult the manual for proper installation instructions to ensure correct functionality and avoid damaging the machine during repair.
Resources and Communities
Numerous online resources and vibrant communities cater to Singer 99K enthusiasts. Ismacs.net stands out as a premier archive for original manuals and documentation‚ offering invaluable insights into the machine’s operation and maintenance. Beyond manuals‚ forums and social media groups dedicated to vintage sewing machines provide a platform for sharing knowledge.
These communities are excellent for troubleshooting issues‚ identifying parts‚ and connecting with experienced owners. User experiences‚ like those detailing tension spring replacements‚ demonstrate the collective wisdom available. Sharing photos and seeking advice can expedite repairs and enhance your understanding of the 99K.
Leverage these resources to unlock the full potential of your machine!
Singer 99K vs. Other Vintage Models
Compared to contemporaries like the Singer 15-91‚ the 99K offers a unique blend of portability and robust construction. While the 15-91 is known for its power‚ the 99K excels in its lightweight design‚ making it ideal for various sewing tasks. Access to detailed manuals‚ readily available through resources like Ismacs.net‚ simplifies maintenance for both models.
The “K” designation signifies production in Scotland‚ yet functionally‚ these machines are nearly identical to their US-made counterparts. This means manuals for US versions are generally applicable. Understanding these nuances aids in sourcing parts and troubleshooting‚ ensuring a smooth sewing experience regardless of the machine’s origin.
Ultimately‚ both machines benefit from a thriving community and accessible documentation.
Tips for Smooth Operation
To ensure optimal performance‚ always release the clutch knob during bobbin winding – this prevents unnecessary wear on the needle and allows for faster winding speeds. Before extensive use‚ a thorough cleaning and oiling are crucial; a well-maintained machine operates significantly smoother. Referencing the Singer 99K manual‚ available on sites like Ismacs;net‚ will guide you through these procedures.
Pay close attention to tension settings‚ as imbalances can cause looping or knotting. The manual provides detailed instructions on adjusting the upper tension assembly and disks. A sharp needle is also essential for clean stitches. Consistent maintenance‚ guided by the manual‚ will maximize your sewing enjoyment.
Enjoy the smooth operation of your restored machine!
Long-Term Care and Preservation
Preserving your Singer 99K requires consistent care beyond regular use. Dust covers are essential to protect against dust and debris when stored. Periodic cleaning and oiling‚ as detailed in the Singer 99K manual (found on Ismacs.net and through reproduction sources)‚ prevent corrosion and maintain smooth operation.

Regularly inspect the machine for any signs of wear or damage‚ addressing issues promptly. Proper storage in a dry environment is crucial. The manual outlines recommended maintenance schedules. Consider occasional professional servicing for a thorough check-up.
By following these guidelines‚ and referencing your manual‚ you’ll ensure your Singer 99K remains a reliable heirloom for generations to come.